We all know the saying; “A picture paints a thousand words” right?… So it makes sense to integrate photos into your Language and Cultural lessons, doesn’t it? In tandem with an audio visual installation, this could provide your students with endless learning possibilities.
There may be no words in a single image but that one single image could inspire the imagination to create a thousand words {well, at least a few words depending on the extent of one’s vocabulary, of course!}.
Because I love photography; today I want to share with you five strategies for using digital images in your Languages classroom to inspire your students and increase language learning skills in a fun and creative way.
Firstly, lets think about this…
Visual Literacy = Reading Pictures
Visual Literacy has been defined as the; ability to understand, interpret and evaluate visual messages.
{Bristor & Drake, 1994}
Photographs are hugely influential in our every day 21st century lives. Think about it for a minute…every single day we are exposed to hundreds of images, from the cereal box at breakfast, to advertisements, newspaper photographs, to the MOST influential one…the internet and social media sites! And this 21st century technology requires us to not only be proficient in textual communication but also understanding visual literacy; and how visual elements create meaning.
So, how can we integrate images into our Languages Curriculum? And what are the benefits for our Language learners?
Good photos are an open-ended resource, with loads of potential for use in the Languages classroom. Photos of people and places from outside of their local environment provides students with stimulating, challenging and creative learning opportunities. Providing your students with the opportunity to view images specifically from Indonesia, is also opening up their opportunities to gain a greater understanding about the country and it’s people.
Photography supports literacy;
- an engaging resource tool for visual learners
- a great way to provide differentiation for Language learners
- relieves pressure from reluctant students by providing an opportunity to read, analyse and discuss photographs instead of traditional print texts
- represents a culturally responsive teaching method/resource
- students can verbally describe their observations, ideas and analyse; in addition to listening to their peers.
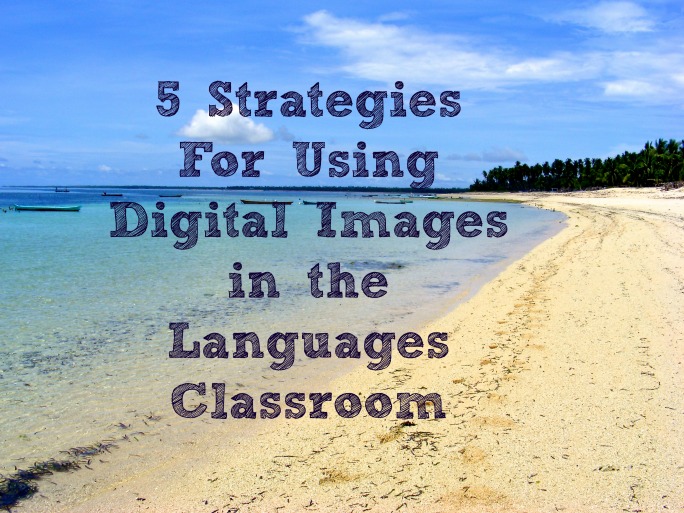
5 Strategies For Using Digital Images in the Languages Classroom
1. Focus on details
Ask students to “read” images by examining the details of a photograph and describing what they see. Suggest that students should focus on; people’s facial expressions, body language, the background, foreground and so on.

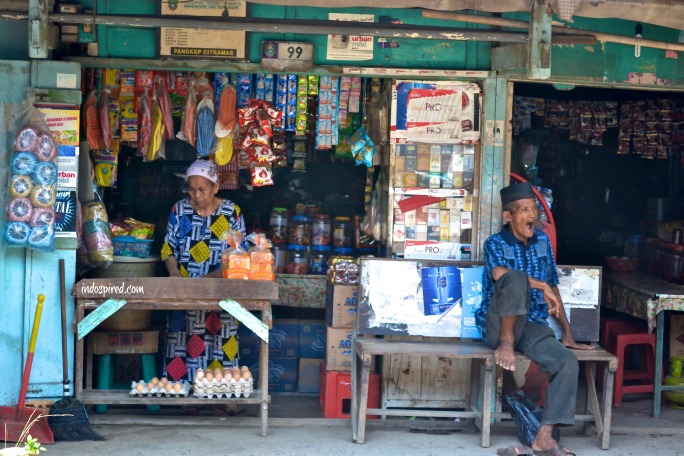
Activity: PORTRAITS
Have students view a wide variety of portraits of Indonesians. Include; political figures, celebrities and regular people doing their daily activities {like in the photo above}. Ask students to guess who these people are based on the photo. Who are these people? Where are the people? What does the photo tell you?
Extension activity: Students could take portraits of their family members, neighbours or local community members and share information and stories {verbally or written} about each portrait. Or perhaps other students could try to guess who they are and something about them.
2. Building vocabulary
Find a range of different photos, perhaps contrasts too {to make things more interesting!} e.g. old and new of time and style; focussing on different topics. For example; a traditional market, a shopping mall, a traditional village, a school classroom etc.
Activity: BRAINSTORM
First thing students can do is; simply make a list of everything they notice in the photograph {this is about noticing and building vocabulary}. Next, students can discuss when and where they think this photo was taken and are asked to provide evidence of their guess. Ask students; what does the photo tell them about the place and the people in it? You could even be more specific and ask students to brainstorm twenty words related to a picture, and then put those words into categories, perhaps even adding new ones that fit in each category.
Extension activity: Students could then take it to the next level and begin to form sentences from the words they have brainstormed in each category.
3. Thought bubbles
Ask students to think about comics that they love to read and perhaps even discuss why they like to read their favourite comics or cartoons. You could even get students to bring in and share some of their favourites, this will surely get them motivated and excited about the forth coming lesson.

Activity: CREATIVITY
Find a range of photos that focus on people or animals. Students can create “thought bubbles” or “speech bubbles” for characters in the photos. Ask students; what might the people in this image be thinking, or what might this komodo/orangutan/chicken be thinking? There are many different software programs where students can create these kinds of speech or thought “bubbles” with digital photos. A favourite of mine is PicMonkey.
*If you use PicMonkey; go to Design > All Themes > Comic Heroes > Overlays > Speech Balloons, once you’ve chosen what speech balloon you want to use then just add text! Super easy!
4. Storytelling {verbal or written}
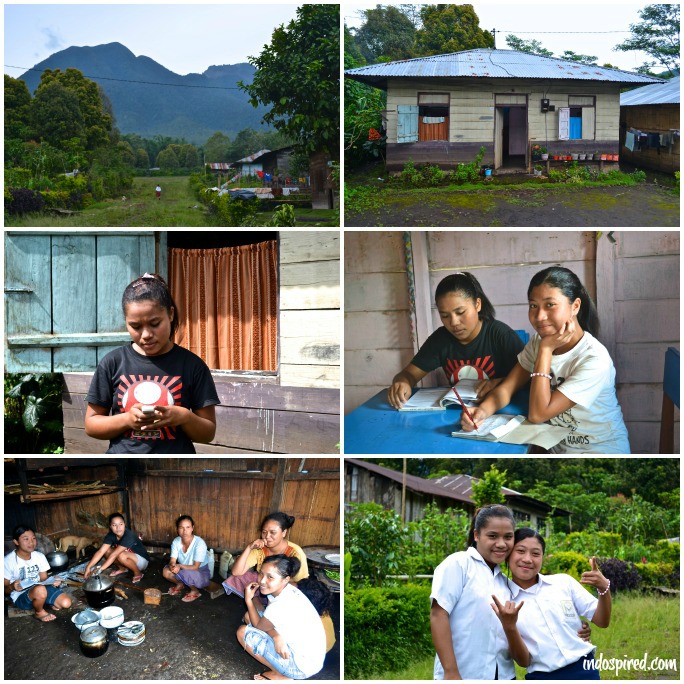
Start by showing your students at least one good example of a series of photos that tells a visual story, such as the example below; a photo story of two cousins in rural Flores. This will assist students with identifying what types of visuals tell a story and the analysis of the photos can be shared as a class by using your example before students complete their own photo-story.
Activity: PHOTO-STORY
Students take a series of photos that they feel tell a story. They bring the photos to class and they create a slide show or a photo collage {such as the example above} – and trade with a partner. Each partner examines the photos and decides what story they feel the photos are telling. Partners tell the story and discuss/debrief about the actual story trying to be conveyed. Then students can tell a story or write a story to go with their own photos. {Students could write their partner’s story but I think it’s nice for students to tell or write their own photo-story!}
5. Creative Writing
Creative writing prompts have been used for a long time to improve writing skills but this is usually done when individuals have more advanced English ability. Using images to prompt writing {even beginning writing} is a great strategy for Language learners at all levels. Pictures are immediately engaging and more often than not less daunting for students than texts.

Activity: WRITING
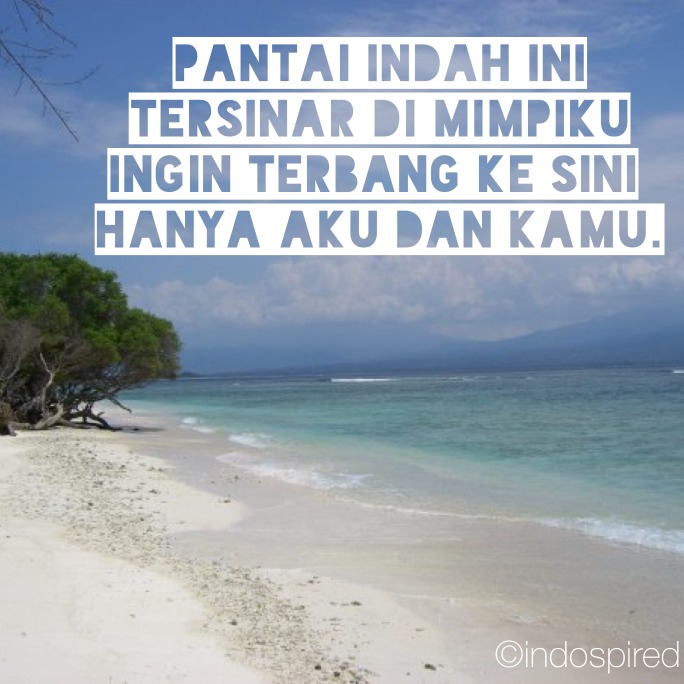
Students are given a different photo each and they can cut and paste words onto the photo to create a meme, a poem or a quote. Provide different colour coded cut-outs of adjectives, nouns and action verbs {for additional support, if needed} – and students can place the words on top of the photos a bit like; magnetic poetry.
This activity could also be created using an App such as two of my favs; Word Swag or Little Moments by Fat Mum Slim. *The bonus of the Little Moments App is that you can use up to ten overlays on your image, and if you want more words than ten, you can save the image and then start adding ten new overlays, so you could end up with twenty overlays {and that equals even more words!}.
So, there you have it folks, five strategies to use digital images in a meaningful way in your Language classroom. There are so many more ideas but I hope there is at least one idea in this post that gets your creativity flowing, as I promise your students will love having the opportunity to use and develop digital photos in the Language classroom and thus will improve on their Language skills without them even noticing…coz it’s not like it’s hard work or anything! It’s all fun!
Do you use digital images in your Languages classroom?
What meaningful ways do you use digital images for Language learning?
I’d love to hear how you use digital images with your students!
Leave a Reply